
Front Yard Glow-Up Part 2: Designing and Edging Garden Beds for a Front Yard Pollinator Garden

Bird’s-eye view: One side of the front yard beds are edged.
April 21, 2025
This past weekend ushered in a new chapter of my front yard pollinator garden adventure. I took advantage of a most beautiful Sunday morning by laying out and edging the garden beds on one side of the yard. In this post, I’ll cover how I laid out and edged the beds in just two hours.
Be sure to read Front Yard Glow-Up Part 1: Why I’m Turning my Front Yard into a Pollinator Garden for an introduction to this project!
How to design natural garden beds
Despite my affinity for straight lines on the flower farm, nothing in nature truly grows in a straight line. We’re going more for beauty rather than efficiency (form over function) for the front yard. As such, my vision for our front yard pollinator garden is a mass of billowy, colorful perennial and annual flowers that bloom in stages through every season, planted in beds that are curvy and whimsical — a la Piet Oudolf.
Approaching your own garden design can be super intimidating. Indeed, garden design (landscape architecture) is an esteemed profession that requires years of formal education and work experience. Not all of us can afford a landscape designer though, and there are ways we can design a beautiful, natural garden on our own.
I learned how to come up with my own garden design by watching endless hours of my garden hero, Monty Don, work in gardens on his BBC shows: Gardener’s World and Small Spaces Big Impact. Monty is gentle, humble, and practical. He’s so approachable that I sometimes fantasize about him flying from Herefordshire, England to Lockport, New York just to drink tea and talk about plants with me, as if a famous person and a flower farmer have endless free time in the spring. Dream big, they say.
What I learned from Monty Don about garden design is so simple: Just layout the walking paths in the garden, and everything else around it becomes the garden bed.
When we only focus on the walking paths, it removes all our inner confusion about what the perfect size and shape of the garden beds are. When we design the walking paths, the beds just become.
laying out garden beds on paper
Despite my educational background in architecture, I prefer to not measure and just draw garden designs freehand, not to scale. It’s a sort of blasphemy, but it works for me, and will also work for you, if you are impatient and prefer a quick-and-dirty solution.
Below is a rough sketch I made over the winter of what I wanted the garden to look like. All I did was design the pathways through the garden — everything else became a garden bed. So on Sunday, I took my rough design outside and eyeballed the layout (eyeballing, rather than using an actual measuring tape, is another favorite of mine, but I have a 3D brain and have the ability to imagine what something will look like before it’s an actual thing. If you prefer to use a measuring tape, go for it!)
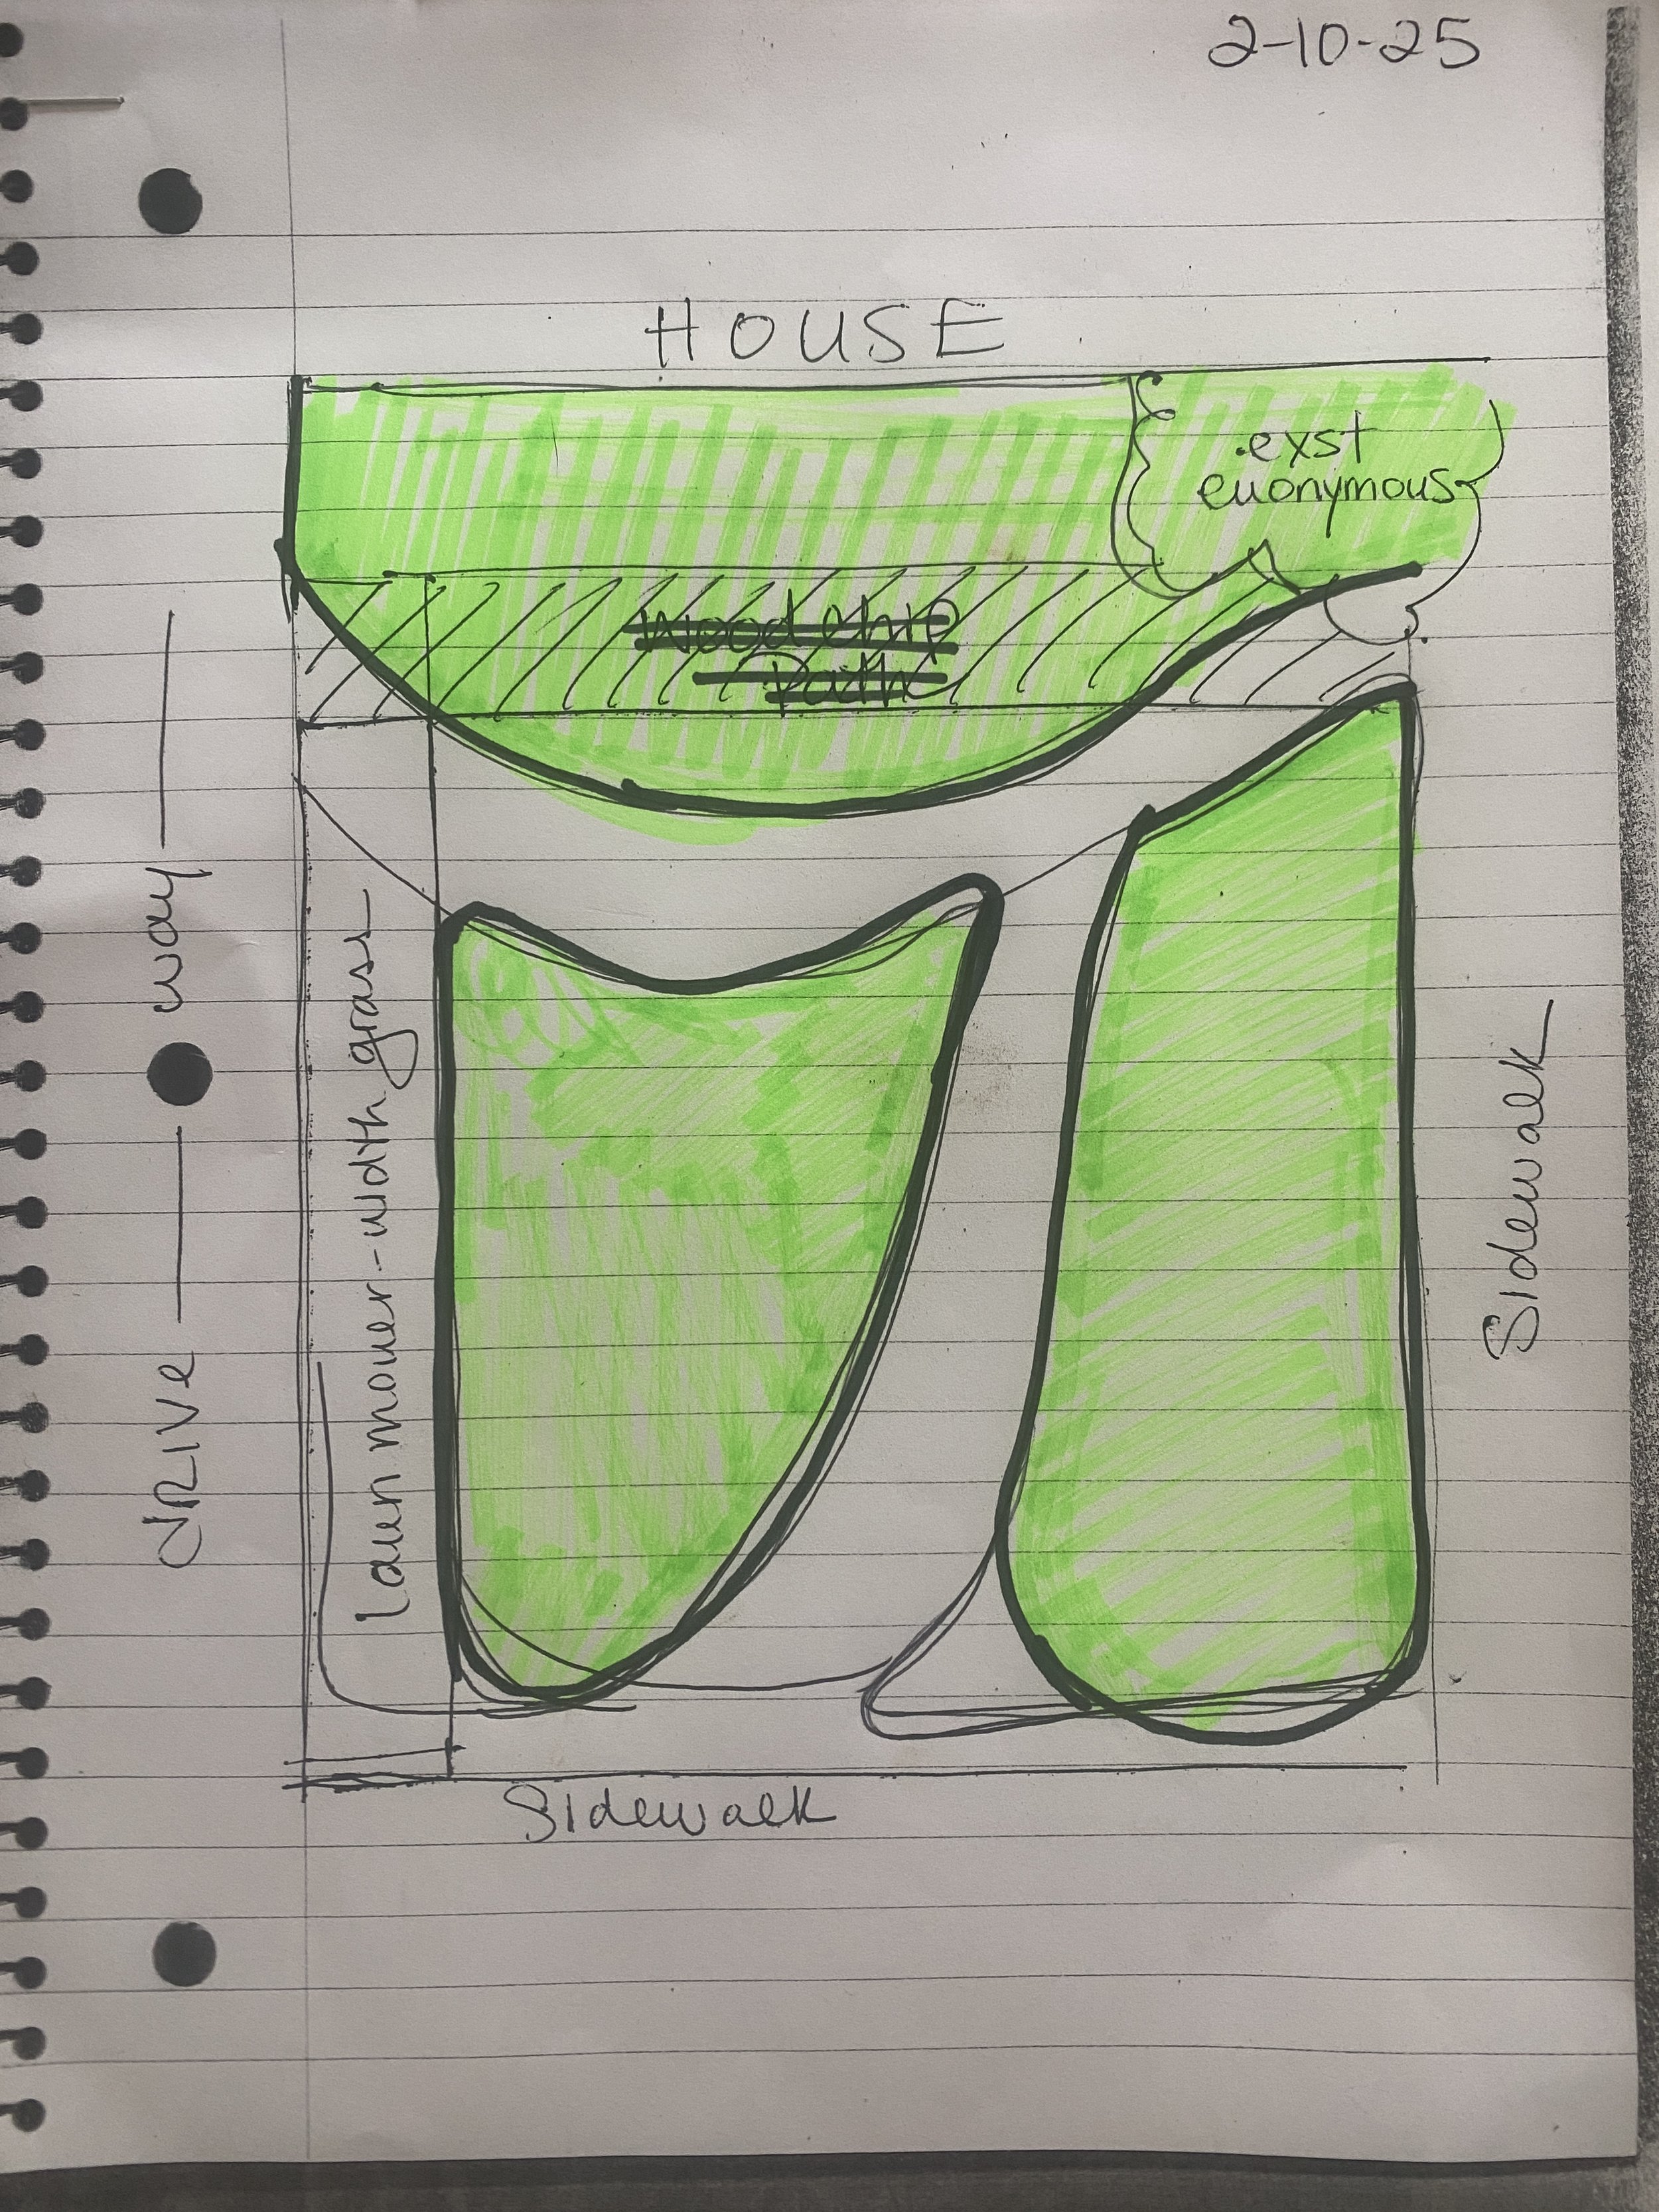
My quick-and-dirty imaginative sketch of the front yard pollinator garden.

Laying out the walkways and garden beds using paint sticks.
A comment about imagining paths in your garden design... There are already natural walking paths you habitually take across your yard without realizing it. Start with those ones. For instance, my mail carrier walks across my lawn in the same spot everyday… that becomes a path, and I added some curves for whimsy. I also wanted to extend a path to the sidewalk to make the yard look more inviting, and to break up the huge space in the middle of the yard into two separate beds. I also decided to leave a grass buffer around all edges of the driveway and sidewalk, except the sidewalk path leading to the front porch. This grass buffer will prevent erosion and I also think it looks nice.
The wooden sticks I used to lay out the garden are the same sticks I use to label plants in the field — they are paint sticks from the paint department at Home Depot. I used these simply because I have a ton of them on hand. Feel free to mark out your garden space with what you’ve got.
Edging garden beds using an edging tool
I’ll admit, I was not looking forward to edging the garden beds simply because I’ve never done it before (Imagine that! Edging for looks just isn’t important on the flower farm). Turns out, it was so satisfying — dare I say fun, even — that I can’t wait to edge every single bed in my entire front and back yard this year!
I purchased this edging tool and it worked absolute wonders on my wet lawn.
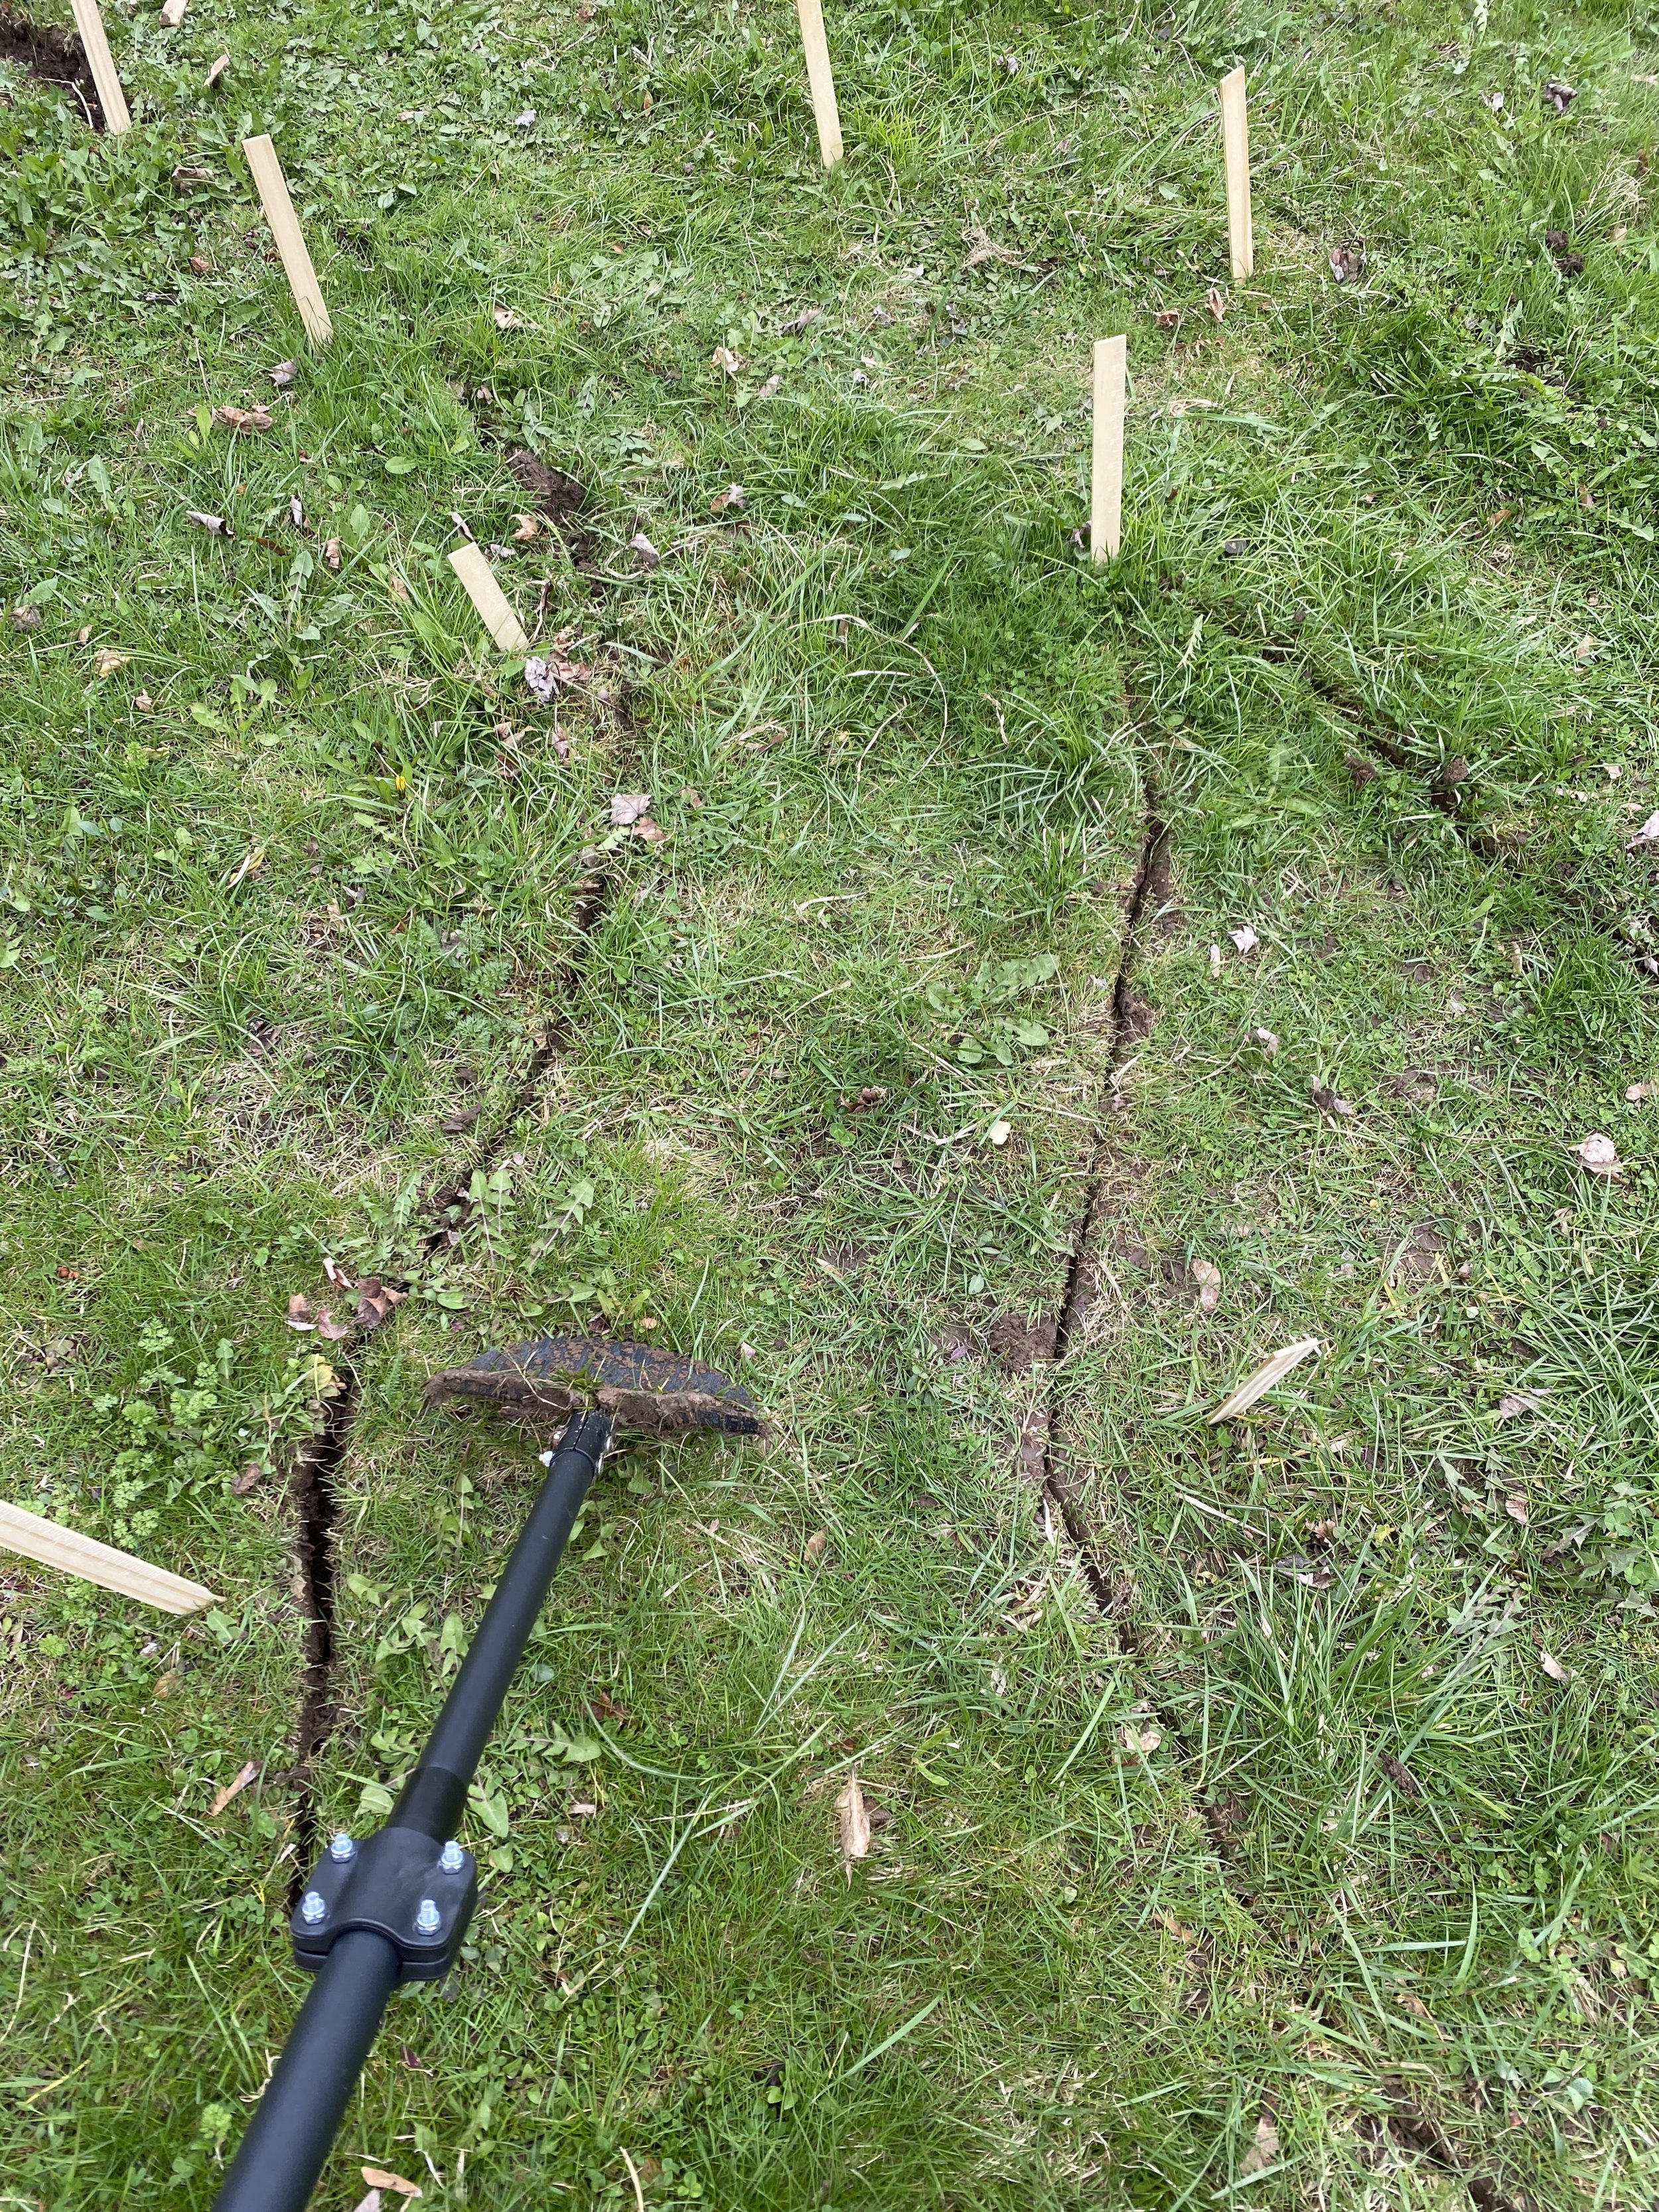
Making a first edge cut with the edging tool.
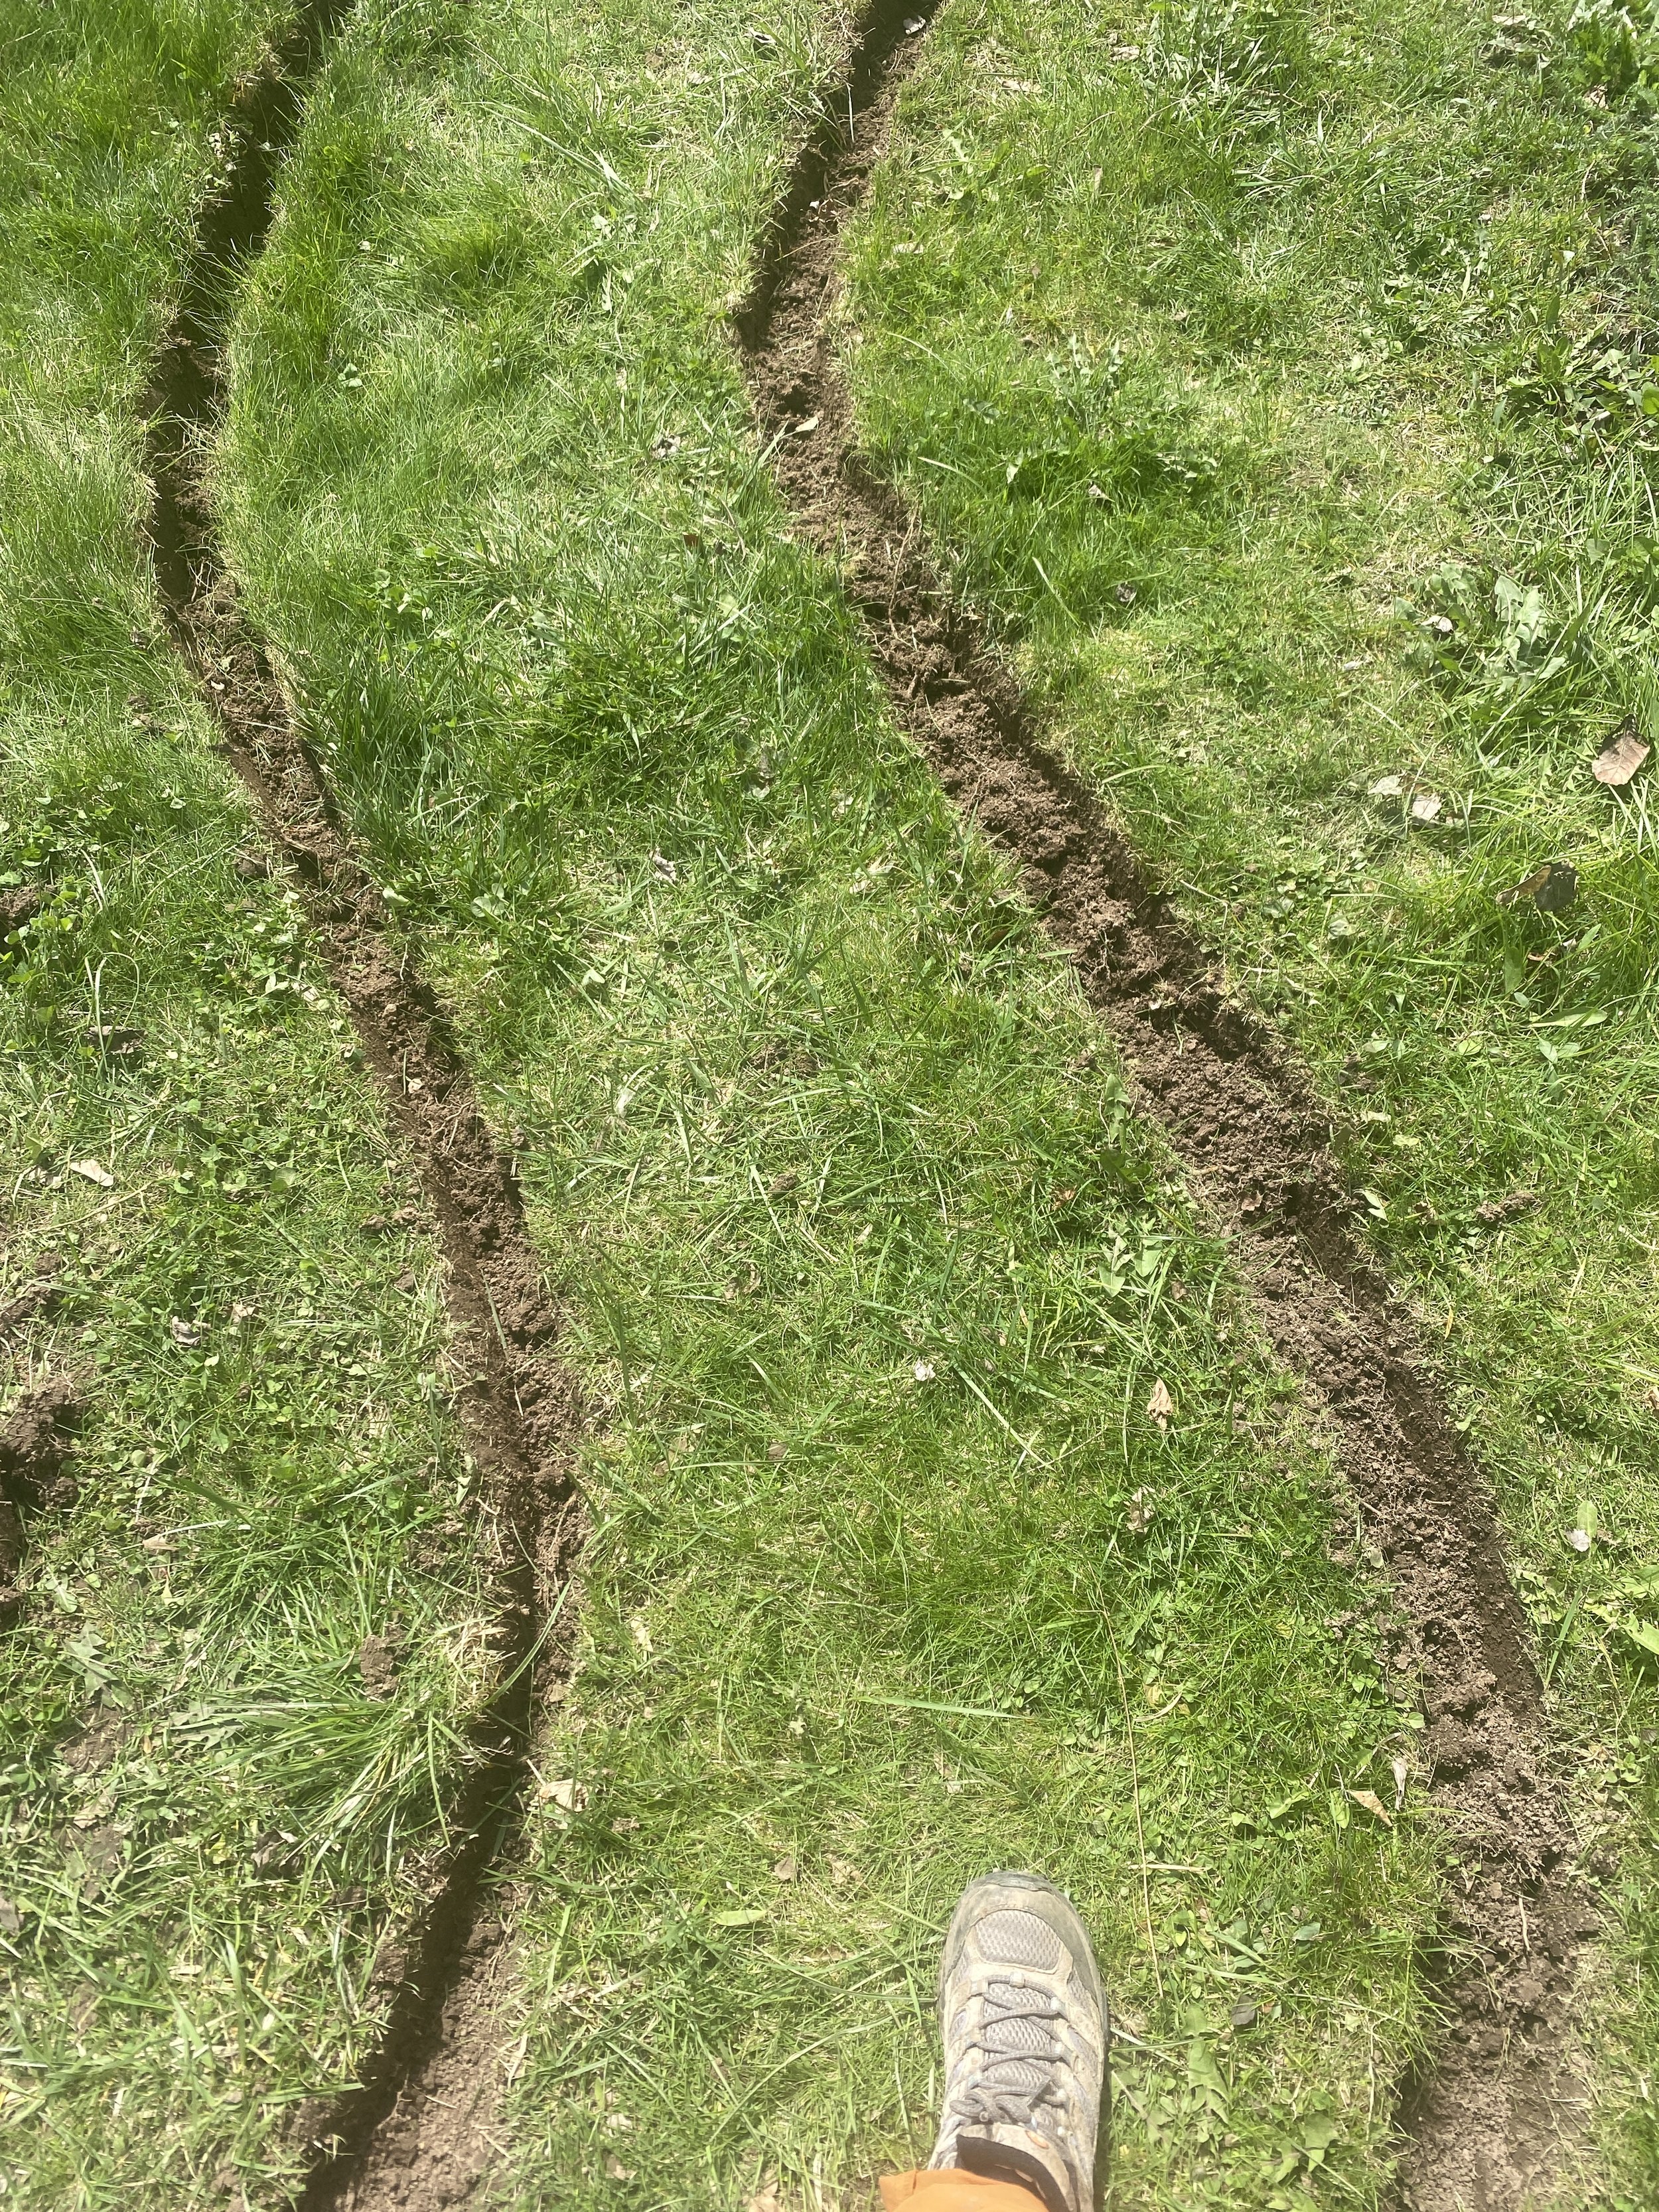
The mail carrier has a nice new curvy path to trot down.
To edge the garden beds, I started in an area that was a bit inconspicuous, up closer to the house, in case I made a mess on my first go. Essentially, I just dug the edging tool in, making curvy paths and beds. Then, I went back and edged 2” on the other side of the original cut, and was able to easily pull out wads of wet sod. It was so satisfying! I added the sod wedges to the middle of the biggest garden beds to hill it up a bit in the centers.
The exposed soil edges are about 2” deep and 2” wide all along the beds and paths. With this gap, the grass roots are air pruned and will not grow back into the garden beds.

Future front yard pollinator garden in the works!
Next Steps for the Front Yard Garden
Now that the beds are edged on this one side of the front yard, the next step is to sheet mulch it. We will not be removing the sod in the garden beds, rather, we will cover it all up with cardboard and new top soil. After sitting for 6 weeks, the grass underneath will be dead and we can plant directly into it!
In the next post, I will discuss sheet mulching, and choosing plants for the garden.
peace, love, and pollinators everywhere,
Fran Parrish