
How to Plant Clover Pathways

Our 2023 perennial cut flower & foliage field in mid-Summer
January 25, 2024
On my 1-acre flower farm in Burt, NY (Zone 6b), we grow clover in the pathways between our farm beds. Growing clover pathways is a strategy borrowed from no-till, regenerative agriculture. After growing clover pathways on the flower farm for two seasons, I’d like to share the ups and downs of clover paths, and how to seed clover as a living mulch as opposed to other options for pathway materials.
What is a pathway and why does it need mulch?
A pathway makes up all of the areas that surround planting beds in the garden. Pathways allow an area for us to walk, stand, steer the wheelbarrow, drive the tractor, etc, without compacting the soil in our garden beds.
Pathways on the farm tend to get less attention than the growing beds because paths don’t produce crops — we’re not fertilizing nor watering the paths, nor do we want to spend a ton of time pulling weeds from pathways during the growing season… that would be a huge waste of time and an anti-lean farming practice. As such, pathways require mulch to keep the weeds down.
Related: Why is Tilling So Bad?
Why use clover as a pathway mulch?
Seeding clover as a living mulch for pathways is a relatively “new” practice in the regenerative farming world. I put “new” in quotes because truthfully, most regenerative farming practices aren’t new. Regenerative agriculture embraces earth-respecting, mindful ways of growing crops have been forgotten over a few generations since industrial farming was introduced in the 1800s. We, as today’s “regenerative farmers,” are just resurrecting the natural wisdom that Indigenous peoples (and other earth workers of the past who deeply revered nature) have always followed.
Growing clover as a ground cover is an effective way to keep pathways covered as a living mulch in the garden or farm. Clover provides many different functions for the soil and farm process, which we will discuss below. The main reason why I love using clover as a living pathway is because it chokes weeds out if seeded at the right time.
Related: How to Suppress Weeds Organically Without Chemicals
the many Benefits of seeding clover as a living pathway
Clover provides many beneficial functions for the farm and farmer:
White Clover grows as a ground cover with a thick mat of shallow roots, which effectively keeps weeds from growing in the pathways (the exception to this is taproot weeds such as thistle, dock, etc);
Clover is perennial over a few seasons and stays alive over cold winters, which means it only needs a light reseeding once per season;
Clover roots hold soil in place and prevent soil erosion;
Clover roots suck up excess water during flooding and rain/snow melt events (great for our farm, which has a high water table and slow draining soil in late Winter);
Clover roots feed soil microbes all year long, promoting nutrient exchange for surrounding growing beds;
White Clover blossoms in the Spring and is a good source of early nectar for pollinators and bees;
Clover is a nitrogen fixing plant which means that when the correct microbes are present in the soil, those microbes will form a symbiotic relationship with Clover roots and the plant will “suck up” nitrogen from the air and deliver it at the root ball. When the plant eventually dies, that nitrogen will be available for the surrounding crops;
Clover cuttings (after mowing or maintaining the pathways) provide great residue/organic matter for surrounding garden beds (organic matter feeds soil microbes and increases the soil water holding capacity);
Growing living mulch of any kind will suck up energy from the sun and deliver carbon back into the soil;
Voles do not eat Clover! (we have lots of crop-destroying voles on our farm).
Related: Winterizing the Flower Farm Using No-Till Soil Building Techniques
What kind of clover to use for a living pathway?
White Dutch Clover is the best clover for a living pathway. White Dutch Clover stays short and grows in a thick mat, which is what we want, to keep the pathway as thickly covered as possible to prevent other weeds from growing.
I have also used Nadino Clover, but I didn’t like it as a pathway clover because it grew too tall. I’d definitely recommend just sticking with the White Dutch variety.
Crimson Clover is the most beautiful clover, but crimson clover is not appropriate for a living pathway. The roots do not spread in a thick mat like white clover roots do. Crimson Clover is one of our favorite seeds to use for cover cropping and as an early nectar source for pollinators when seeded in the fall.

White Dutch Clover pathway in late May, before mowing for the first time
where to buy clover seed for living pathways
This White Dutch Clover Seed sold by Outside Pride on Amazon is what we use on our farm, and it is a wonderful, long lasting seed. I have recklessly let this seed sit over the summer in a 100+ degree shed for two seasons and it was still viable afterward. We buy 50-Pound Bags of Clover Seed because we also use clover for cover cropping. If you are a home gardener, I would recommend buying a 5-pound bag of clover seed to start.
Extra White Dutch Clover seed can be used to overseed your lawn. I overseed my home lawn with White Dutch Clover every Spring, to fill in gaps where the grass is lacking. Clover fills the gaps in your lawn nicely, and blooms white clover flowers early in the year — a necessary, early nectar source for bees. You can overseed your lawn by simply scattering a light layer of clover seeds over it with your hand. With a smart flick of the wrist and a steady stride, you can have a large lawn overseeded with clover in less than 20 minutes. Do this before a Spring rain so you don’t have to bother with watering it in.
Related: How to DIY a Seed Starting Setup
when to seed clover pathways
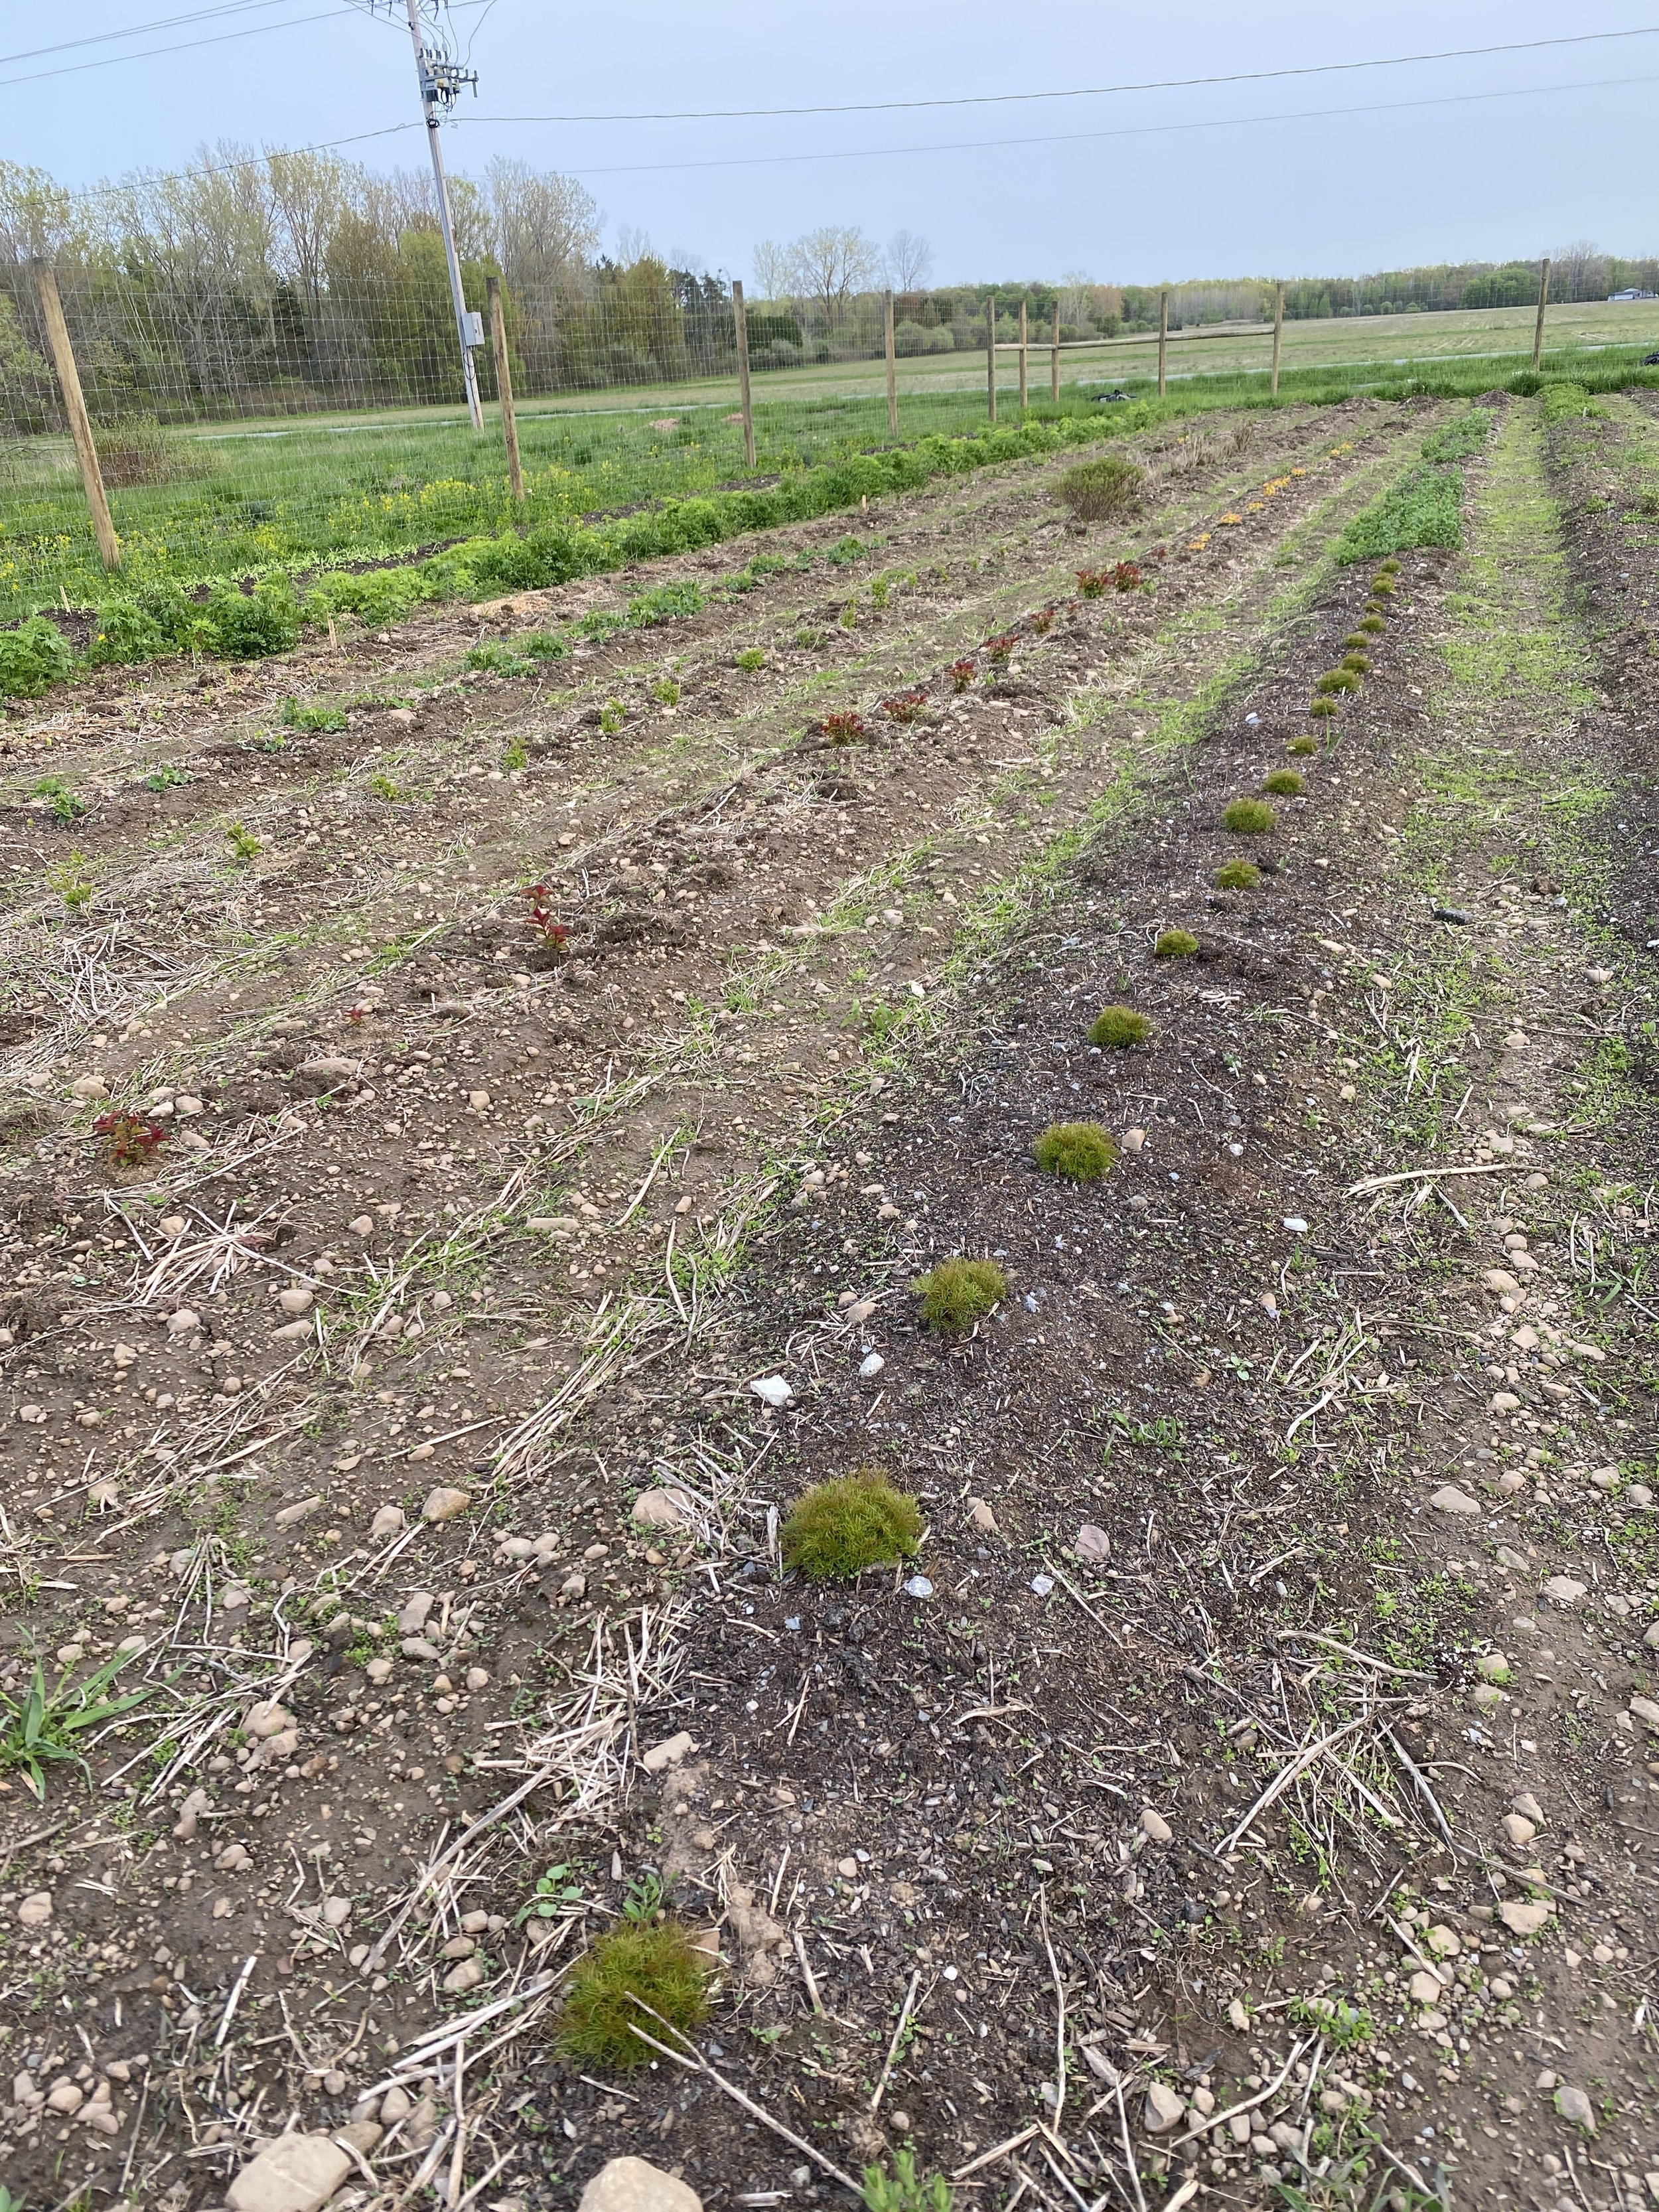
Last year, I seeded my clover pathways on April 9th in Zone 6b. Temperatures were averaging 40 degrees with lots of moisture. The clover sprouted in no time and proceeded to grow into a thick mat of green within two months. I could hardly believe my eyes how easy it was.
Definitely do not seed clover when it is hot and dry. Clover needs cold and moisture to germinate, so Spring is the best time for seeding clover.
Clover paths - 3 weeks after seeding

Clover paths - 6 weeks after seeding
how to seed clover pathways
Seeding clover pathways is simple. To seed a clover pathway, I partially fill a small bucket with clover seed, grab a handful of seed, and gently scatter the seed with my hands back and forth while walking at a steady pace (this seeding method is called Broadcasting). I make sure the clover seeds are dispersed only in the pathway area. Do not seed clover pathways on a windy day — the wind will throw the seeds right into your planting beds and you’ll be weeding clover out of your beds for the rest of the year.
Related: How to Seed Cover Crops
The pathways on our farm are 18 inches wide and we grow in slightly raised beds where the edge of the growing bed is very obvious (it makes seeding clover paths easier).
If I could go back and reseed my clover pathways for the first time, I would have been more careful about keeping the clover seeds off the sides of my permanent raised beds. Over the summer, the clover grew so well from ample rain that it began creeping into the growing beds at a vigorous pace. By mid-July, we had to do a lot of hand pulling of the clover. Which gets me to my next point… the negative side of clover pathways.
are clover pathways hard to maintain?
After growing clover paths on our flower farm for two seasons, I would say there are two downsides to growing clover paths. I want to be clear though, that neither of these downsides are enough to make me stop growing clover paths. I love using clover in pathways in our perennial side of our farm, and will continue to do so.
The downside to clover paths is that they have to be mowed on a regular basis. Even though White Dutch Clover does stay at a low height, it still becomes difficult to walk through, especially when wet on early harvesting mornings, and some weeds do end up growing through it which need to be maintained over time. Mowing pathways is easy if your paths are the width of your tractor or riding lawnmower (if you own one) because you can simply get on the tractor and mow the paths down pretty quickly and efficiently. Even though we do have a tractor, wider pathways didn’t make sense for our flower farm because the amount of space taken up for pathways would have been excessive (we have about 100 paths) and the walking distances for harvesting would have become too much for me. We were initially using this 80-Volt Kobalt Electric Lawnmower to mow the clover down, but much to my dismay, the lawnmower was too hard to maneuver on uneven ground and got clogged very quickly with the thick clover trimmings. This lawnmower works great for keeping your lawn mowed, though! We use it at home.
To improve mowing of the clover, we purchased this Earthquake Walk-Behind String Mower and it works like a charm for mowing down the clover pathways. A walk-behind string mower is basically a huge string trimmer that maneuvers like a lawnmower and cuts through much thicker material. The string mower is useful for not only mowing clover paths, but also mowing hard-to-reach places that the tractor can’t mow, such as our fence line. The only issue with mowing now, is that the clover is wider than the string mower, so we need to either go down the pathway twice, or pull the clover that is creeping into the beds, by hand (to be clear, we still had this issue when using the electric lawnmower).
Overall, mowing clover paths is manageable with the right equipment and sticking to a schedule.
Read our post here on How to Mow White Clover Pathways for more information.
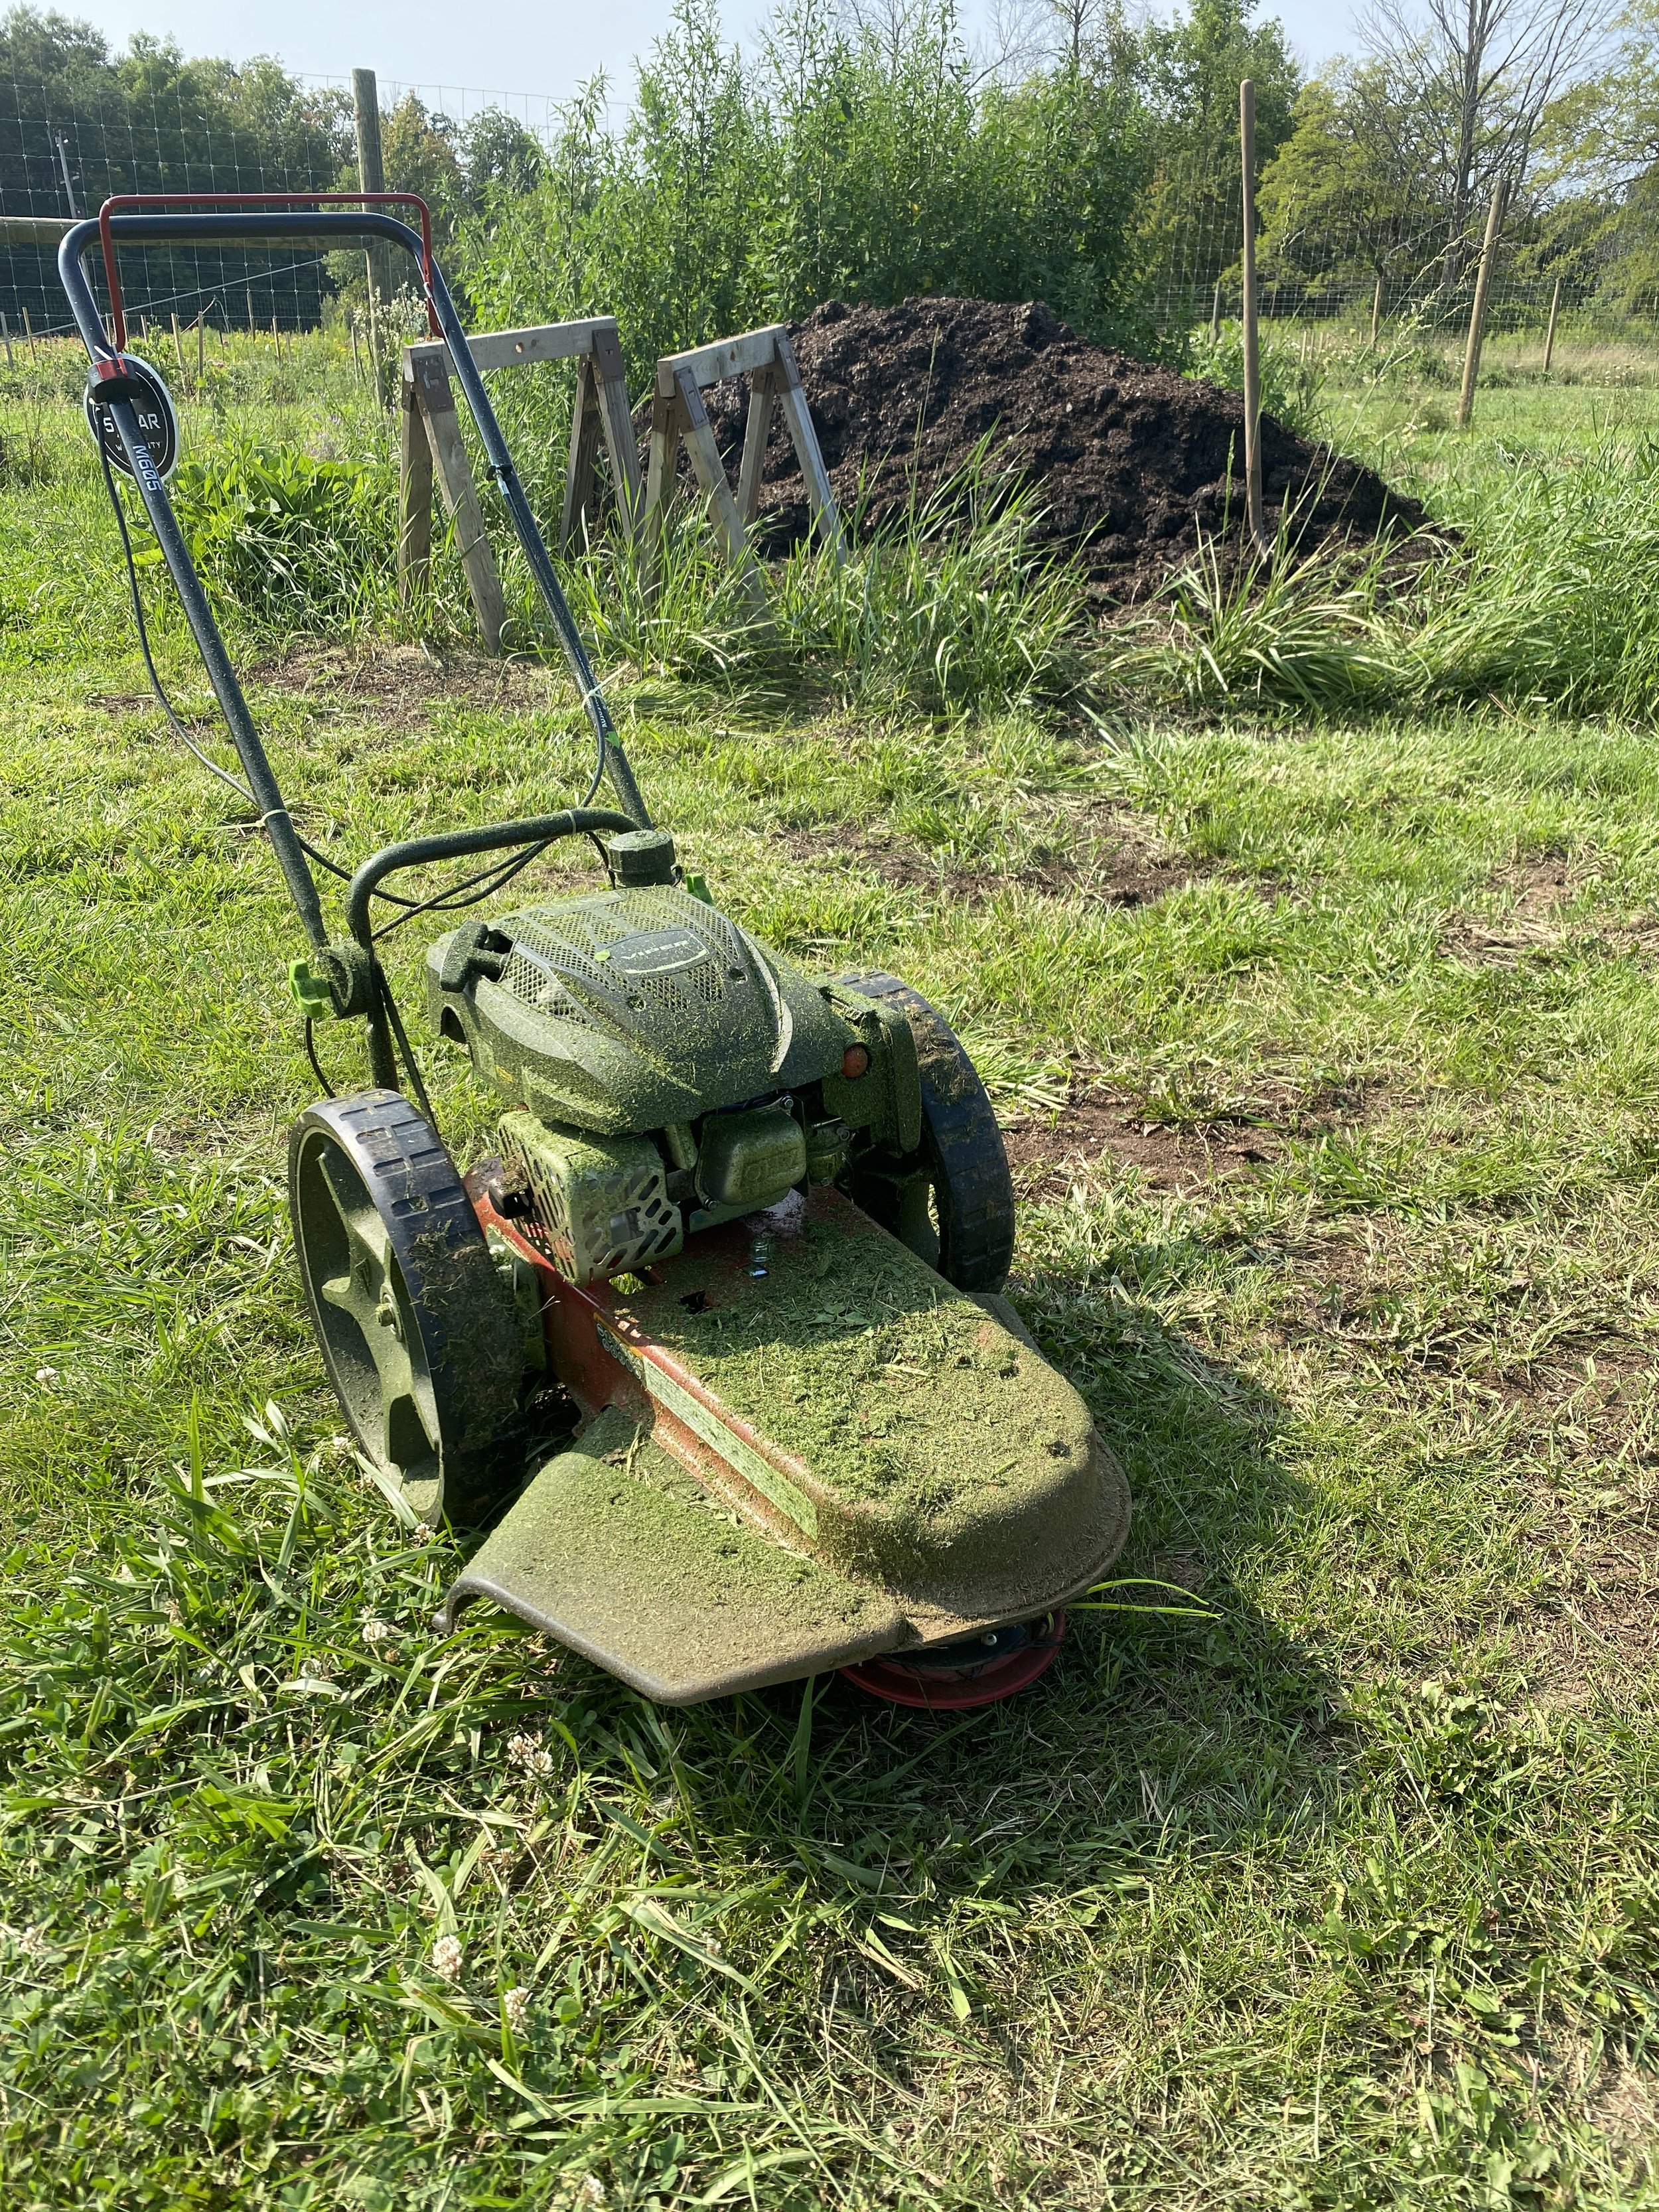
Our Earthquake Walk-Behind String Mower

Clover pathways after mowing in mid-June
how to keep clover from growing in garden beds
The first step to preventing clover from growing in your beds is to not seed it there.
The second step requires a bit more work… you may need to pull overgrown clover out of the beds by hand. The fact that clover grows toward the growing beds is the reason why we only seed clover in the perennial side of our farm. I’ve come to embrace the clover that grows in the beds of established perennial plants because the clover shades the soil, keeps moisture in, and provides nutrients to the surrounding plants. Pulling clover out of the edges of the growing beds, by hand, takes work, but you can add the huge handfuls of clover greens back to the top of your growing beds as green manure and mulch. You can see below how we do this on our perennial flower field.

Clover cuttings as a green manure/mulch

Looks wonderful when completed!
This upcoming growing season, we are going to get the weeds (including some clover) under control in our perennial beds by heavily mulching around the established plants with a bottom layer of compost, then 1-2 layers of cardboard, and wood chips on top. I believe this will work to prevent the clover from aggressively taking over the planting beds.
Related: Demystifying Compost: All the Questions You Need Answered About Compost
other ways to mulch pathways in the garden, beyond clover
Other ways to mulch your garden paths include:
Covering pathways with landscape fabric — We use landscape fabric on our annual paths to manage weeds (read our post here about the Pros and Cons of Using Landscape Fabric);
Covering pathways with cardboard, then covering the cardboard with wood chips;
Straw mulch — make sure it is a seed-free straw. Asking hay farmers for spoiled straw is a good option;
Letting the weeds grow in the paths and mowing those… although if you’re going to go this hands-off route, I would recommend just seeding clover over it in the Spring and mowing that instead.
In conclusion, I love using clover pathways on the perennial side of my flower farm and using the above methodology, we will continue to overseed the existing clover paths for years to come.
peace, love, and clover for days,
Fran Parrish
