
Indoor Worm Composting and Using Worm Castings on the Flower Farm
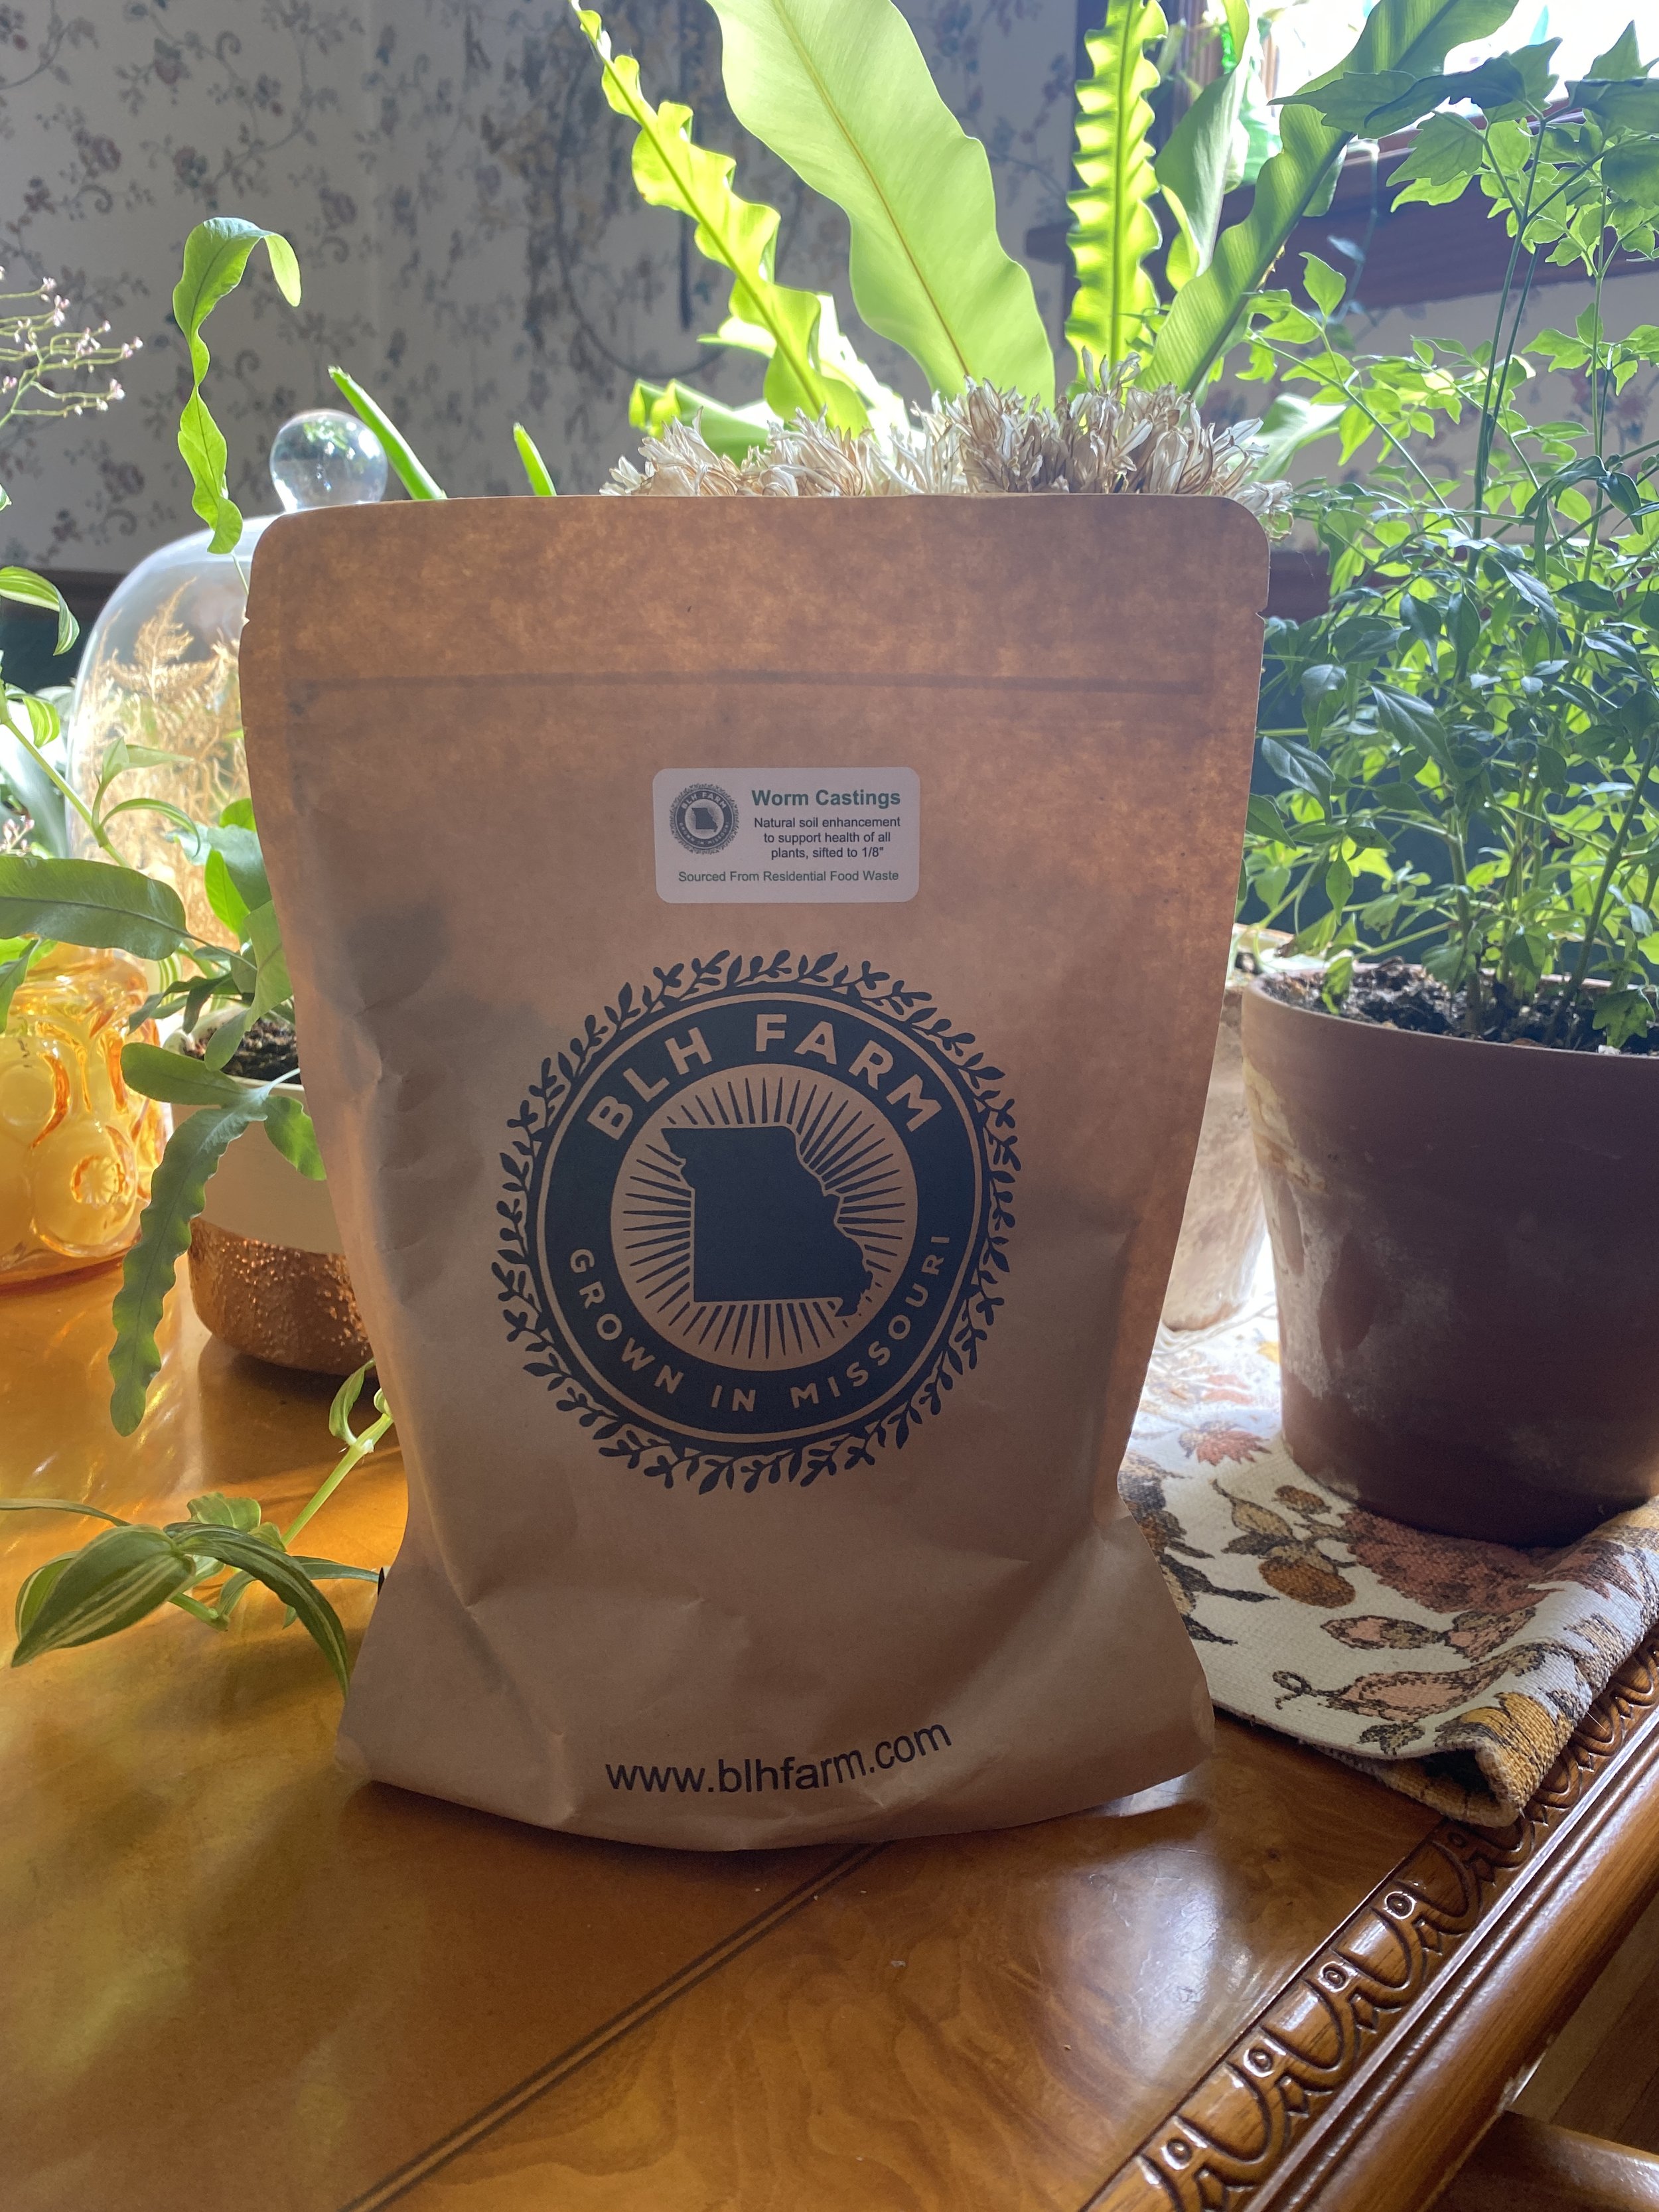
Amazing finished worm castings from our friends at Booneslick Heritage Farm.
Updated February 12, 2024
Well, I broke down and bought a worm bin. Never did I think I’d try worm composting again after massacring hundreds of red wigglers in my DIY rubbermaid worm bin in 2016. All the worms died a few months after taking that photo… they all jumped ship and dried out on the concrete floor. Here’s to hoping that doesn’t happen this time around!
Chances are high that the worms won’t die this time because I purchased an actual worm composter that is designed to prevent worms from getting out. I opted for the Worm Factory.
The reason I’m trying worm composting again is because it’s come to my attention that worm poop (known more formally as Vermicompost or Worm Castings), is the best input available for growing plants of basically any kind.
Related: How to Fix Soil After Using Miracle-Gro and Other Chemical Fertilizers
Worm castings are rich in healthy bacteria and plant-available nutrients, which means when plants are fed worm castings, they can intake the nutrients right away. Worm castings are particularly excellent to use during seed starting as they actually help seeds germinate by improving the cation/energy exchange in the soil. There is so much good bacteria in worm castings and adding them to your seed starting mix or planting area will inoculate your farm or garden with this beneficial biology. That’s about as scientific as I’ll get with that here and I encourage you to read up about it!
I owe this newfound information and enthusiasm over worm farming to Jennie Love of Love n’ Fresh Flowers in Philadelphia. She is the best regenerative flower farming mentor!
Related: Why is Tilling So Bad?
Tips for Using Worm Castings as a Fertilizer/Biological Inoculant
Worm castings must be fresh. Store-bought/bagged worm castings that have been sitting around for a long time will not have the biology in them that your plants are craving. This is why I got a worm bin, so I can make my own fresh castings. In the meantime, I purchased fresh worm castings from a fellow small regenerative flower farm: Booneslick Heritage Farm. I also got 1 pound of red wigglers from them to start my worm bin. Farmers, let’s buy from and support each other!
Add fresh worm castings in their whole form to your seed starting mix (1/2 cup per 5 gallons of potting mix) and add 1 tsp to transplanting holes.
Make vermicompost extract by steeping the vermicompost (worm castings) in water overnight. You can use this as a drench or foliar feed. It is very important you do not use municipal treated water — the chemicals in it will kill the biology in the worm castings.
A final note on water: The trace chemicals present in municipal treated water will kill the biology in your worm castings. You must use pure water, either from a well, harvested rain water, or you could off-gas a bucket of municipal water by leaving it out in the sun for 24 hours. What better excuse have we than this to start saving our rain water?
Related: Fertilizing and ‘The Law of Return’
Below are some photos of my process of setting up the Indoor Worm Factory Bin.

1) After assembling the worm bin with one working tray I ripped up the cardboard packaging it came in and added this as a bottom layer. This was suggested on the packaging.

2) The Worm Factory came with a brick of coconut coir that I soaked in water to soften and expand it as a bedding agent for the worm bin. I dumped this on top of the cardboard and spread it out evenly.

3) In go the worms! We got these red wigglers from Booneslick Heritage Farm.

4) The worms were packaged in a thin paper, so I added a layer of this on top of the worms.

5) I sacrificed an old dish towel as a “worm blanket.” It is suggested on the packaging that you buy Tumbleweed’s worm blanket but to save money and resources, I wetted this dish towel and tucked them in. The “worm blanket” keeps the worms tucked in, moist, and even provides a place for them to lay eggs.

6) The top is securely on and we’re good to go! I will store the extra working bins on top until needed. The worm bin will live inside until it is warm enough to put them in my unheated barn outside (when temperatures are consistently 50 degrees and above). The worms subsist on the coconut coir for the first few weeks and then I will start feeding them our kitchen scraps a few times per week.
I will report back here with progress once we are producing our own vermicompost. I’m excited to experiment with it on my flower farm!
peace, love, plant magic.
Fran Parrish
