Winterizing the Flower Farm Using No-Till Soil Building Techniques

November 18, 2021
We’ve been lucky with a late autumn this season in Western New York Zone 6b (first light frost on Nov 6, first light snow this week) lending extra time to get all of the winterizing farm tasks in order before the first heavy snowfall. I’ve only just begun digging dahlias. I like to wait as long as possible to do this, ideally right up until the ground starts to freeze. My feeling is, the lesser amount of time they’re in storage, the lesser time they have to dry out over the course of the winter storage season.
Related: When to Dig up Dahlia Tubers
My goals for winterizing the flower farm are as follows
Leave the soil as undisturbed as possible (sans the dahlia beds), while providing thick layers of mulch to protect the soil over winter
Add cover crop seed so they’ll begin growth in early spring
Have a few rows fully ready for hardy annual planting in early spring
Steps to Winterize the Flower Farm
Perennial Beds
I wait to cut the old, dead growth back until Spring. The seeds and tall growth provide food and habitat for birds and other local wildlife through the Winter season. I do remove irrigation drip lines and store inside over winter.

Annual Beds
Cut all annual plants at the base of the stems where they meet the soil line. Use loppers for thick stems. I do not pull any plants out of the ground. Leaving roots in the soil will feed microbes over the winter and also prevent soil erosion. Over time, the roots add delicious organic matter and help increase soil moisture holding capacity. You can also opt to leave (non-diseased) decomposed leaf matter on top of the soil. I refer to this entire act as “Chop n Drop.”
For more detailed info on building soil fertility through no-till farming practices, please visit these other blog posts: Building Healthy Organic Soil + Soil Food Web, Fertilizing and The Law of Return, How to Prep Soil for an Organic Flower Farm in 7 Steps
Remove irrigation drip lines and store inside for the winter.
I do not pull weeds at this stage, unless they are highly invasive such as: Pokeweed, Mugwort and Motherwort.
If using cover crops, drop cover crop seed now. I use a blend of clover, buckwheat, hairy vetch and brassicas. The seeds you choose will depend on your soil composition and fertility needs. After applying cover crop seeds, the seed will lie dormant all winter and germinate in the spring, once temperatures reach 50-60 degrees. This method of cover cropping is only appropriate for tender annual areas that will be planted after frost. You’ll need adequate amount of time to terminate the cover crop before planting your flowers.
For more info on cover cropping, read here: How to Cover Crop a Flower Farm
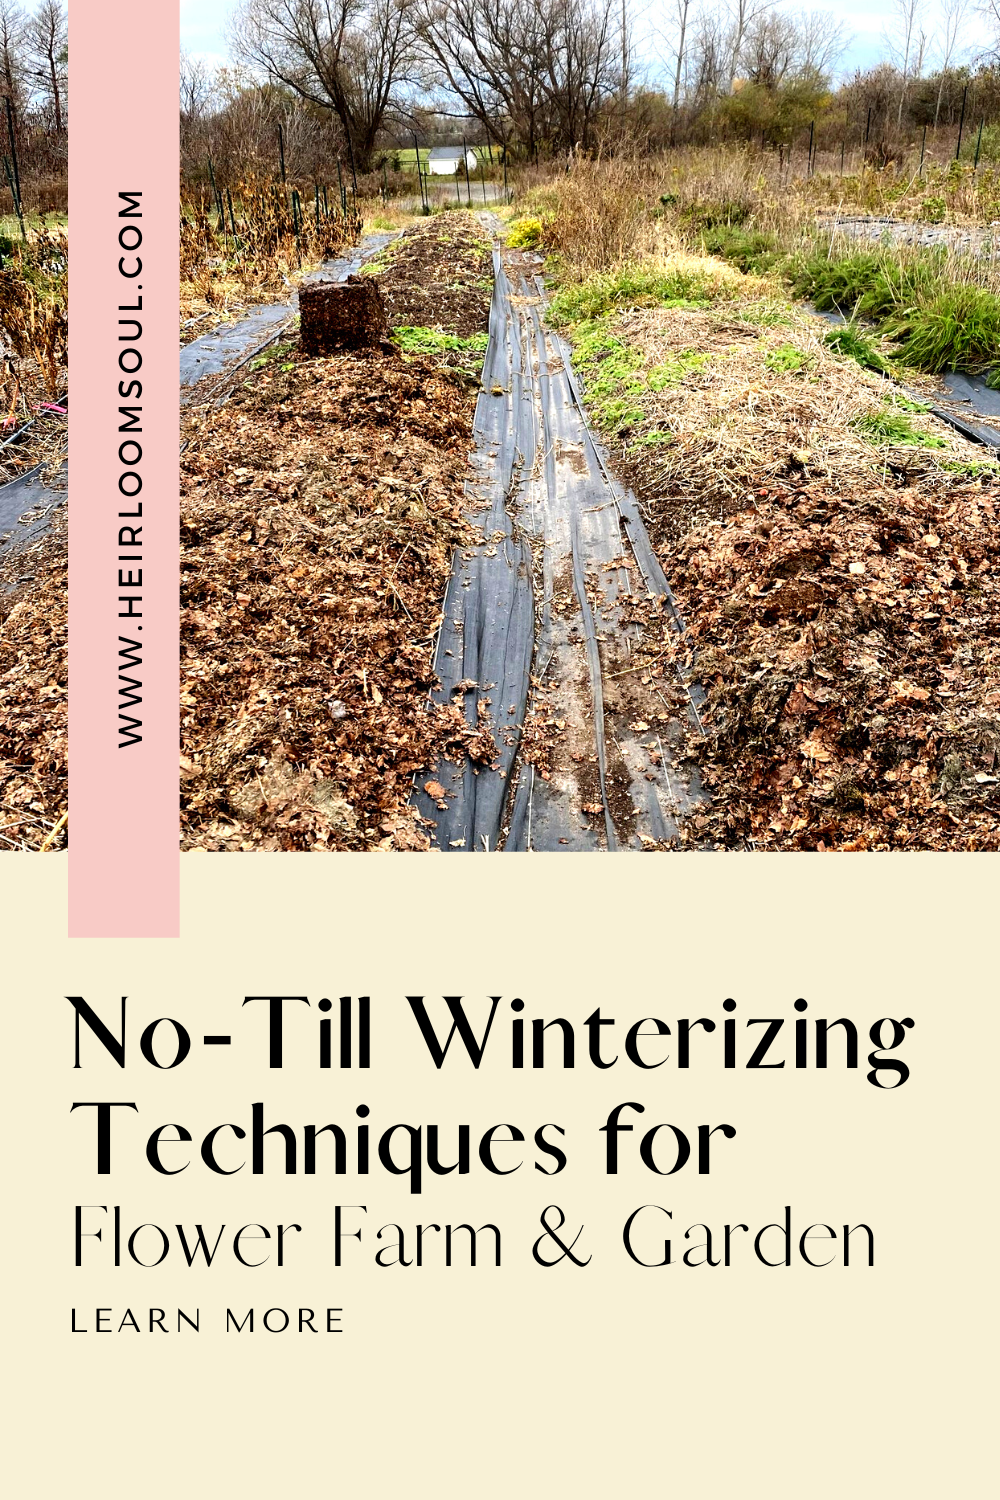
Cover rows with a 2-3” layer of shredded leaves. If using cover crops, cover lightly with 1-2” layer so the seeds can germinate in spring. I collect shredded leaves from neighbor’s yards that have been raked to the curb or dumped there by their landscaper. It’s important to only use shredded leaves, not whole leaves. The whole leaves will prevent water from penetrating the soil beneath and will not break down as quickly. Shredded leaves provide a plethora of organic matter that is delicious for worms, and they also provide a blanket of warmth to shelter your other invisible microbial soil workers during the harsh winter months. Over the course of the growing year, the leaves will break down into a rich black gold, thanks to your happy & well cared-for soil microbes.
To learn about mulching with leaves and ‘The Law of Return’ read here: Fertilizing and The Law of Return, Using Burlap & Shredded Leaves as Organic Weed Suppression
To keep leaves in place over winter, cover with burlap. The burlap can be ordered in rolls online - the best pricing I’ve found is from GardenersEdge.com. Secure the burlap down with 6-inch landscape pins or heavy rocks. If you don’t take this step, in my experience, most of the leaves will blow away by spring. I reuse burlap year after year.
Dealing with Cover Crops in the Spring…
When temperatures warm up to 50-60 degrees, your cover crops will begin to germinate. When you notice germination (the sprouts may be yellow due to lack of adequate sunlight), you can then remove the burlap covering and allow the cover crops to grow through the leaf mulch until 3 weeks prior to your scheduled spring planting. When it’s time to get rid of the cover crops, you can do so with either an occultation/silage tarp (sure to fully kill the cover crops) or use black landscape fabric. I choose to use 6-foot wide black landscape fabric because I already have extra on-hand. The landscape fabric is porous and so will allow moisture through. This will not fully suffocate and kill the cover crop, but I am okay with that because I will cover it all up with a thick layer of compost prior to planting.
Specifics for Hardy Annual Beds
I plant thousands of hardy annual transplants in very early spring — anywhere from 6-8 weeks prior to the first frost. These plants include lisianthus, rudbeckia, scabiosa, statice, ammi, feverfew, strawflower… among others. Since they’re planted so early, my method for cover crops (seeding at the end of the season and allowing it to grow in early spring, then terminating it 3 weeks prior to first frost) won’t work for this group of crops. In this case, I skip cover crops and simply add a thin layer of compost plus a thick layer of leaves on top of the bed. When we have a warm spell toward the end of February into March (it always happens), I go out with Agribon (row cover/frost cloth) and cover the beds in order to trap the solar heat and start warming up the soil in anticipation of the hardy annual planting. At planting, I will add alfalfa pellets to the bed for extra nutrition and absorbency. I do not add an extra layer of compost on top, rather, I plant directly into the leaf mulch, creating deep holes with a dibber into the existing soil.